How to Install Namgrass
OK! Your probably wondering how you install artificial grass as your feed up of looking at a patchy, worn-out old lawn with a broad swathe of beautifully lush Namgrass artificial grass. That’s great. Now, whether you handle this as a DIY project or you get someone in, careful planning and preparation will pay off handsomely in the end. Spending time on basics like a smooth, level surface is important if you are going to get a result to be proud of. The below instructions are our recommended installation process for laying Namgrass artificial turf. There are other ways to install which can be dependant on materials available and ground conditions but do give us a call if you’re unsure. Let’s get started!

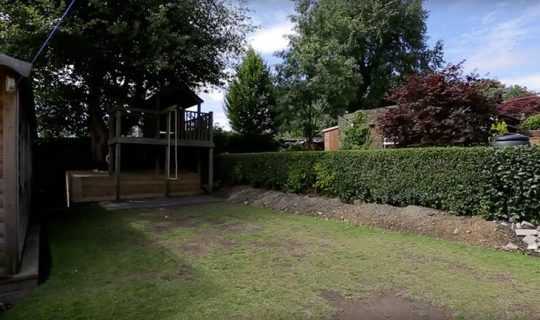
Step 1 Preparing the Area
First you need to remove all the old turf. If you have an area larger than a few square metres, it’s worth hiring a turf cutter. It will make the job much quicker and easier and it helps take the hassle out of achieving a level surface.
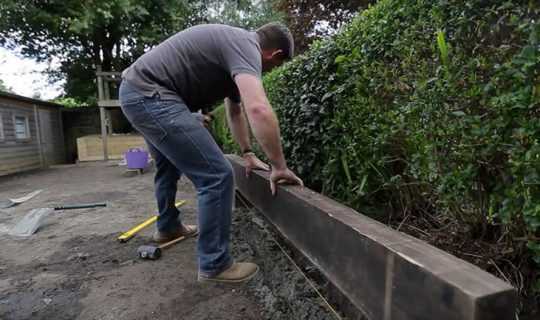
Step 2 Fitting the Edge
To enhance its good looks for years to come, Namgrass should have neat, durable edge around it. When choosing which material to use (timber, metal, concrete or brick) remember Namgrass is available in pile heights from 16mm to 38mm deep, so you should lay the height of your edge accordingly. Next, have a nice cup of tea.
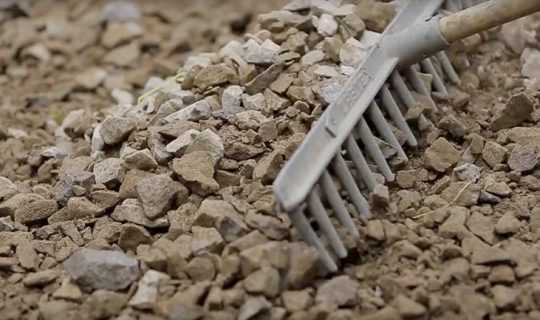
Step 3 Laying the Base
Once the edge is in place, the entire area needs to be covered with a layer of Type1. Although the depths can vary due to condition and use of the area, a typical base will consist of between 50-70mm of Type1 aggregate and a 20mm top layer of compacted and leveled Grano dust also known as ‘Fine Type 1’ which has particles no bigger than 5mm.
Your local builders merchant will be able to advise and supply on materials. Take along your measurements, including the depth, so they can calculate the quantity.
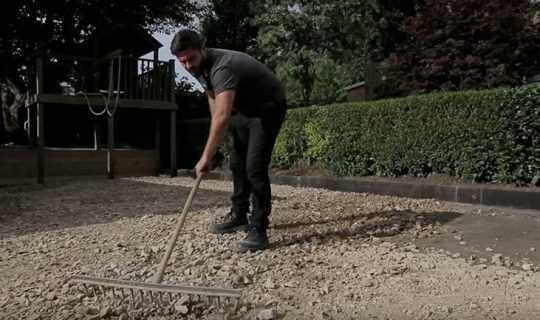
Next, another trip to the hire shop for a compacter which is needed to compress the material and provide a firm base. Depending on which Namgrass you choose, keep the base layer roughly 20mm below the top of your edging. Remember to form a slight camber so the base slopes towards the edges, this will help accommodate any settlement over time.
It’s a good idea to spray the area with water to keep the dust down and help the aggregate to bind. Then it’s time for another cup of tea. Finally, (phew!) cover the base layer with a weed membrane, pinning it close up to the edging.
Step 4 Installing Namgrass
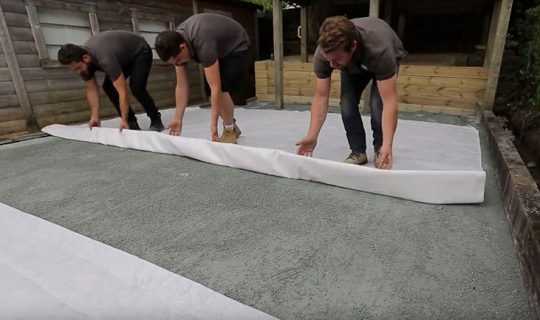
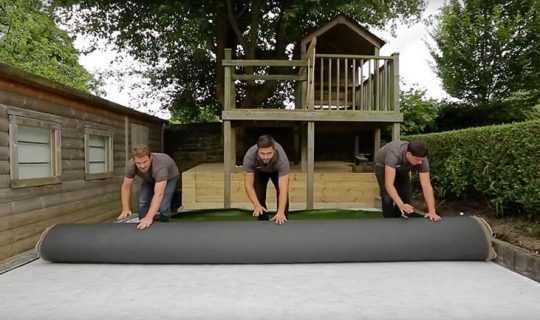
Now for the fun part! Lay the Namgrass over the area and overlap the edges so you have enough material to trim for a close finish. Chances are, you’ll need to join two or more pieces together, roll these pieces out as well, ensuring the pile runs the same way. Namgrass is best viewed with the pile direction facing towards you however the majority of our grass can also be laid side-on. Leave the Namgrass to settle for a couple of hours. Break for lunch.

Come on, come on, back to work. Carefully cut the overlapping edges, sharp knife essential, so they fit snugly up to your edging.
Whilst it’s not essential, some high use areas, such as family gardens, benefit from an even layer of kiln dried sand infill – approx. 5 kilos/m². This provides additional stability and weight to the product, thus making for a much nicer completed project. After spreading the sand, brush up the grass to lift the pile and settle the sand in. More tea.
If you are a pet owner we suggest not infilling with sand to ensure a lawn that smells fresher for longer.
How to Join Two Lengths Together
Depending on the size and shape of your garden you may well need to join Two sections together. Our top tip here is to take your time. To make sure you get a professional finish, follow these simple instructions.
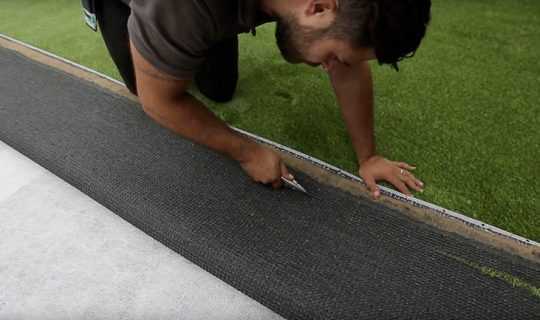
Step 1 Cutting the Lengths
Line up the two lengths ensuring the pile runs in the same direction. Fold back the edges of the first length and locate the third and fourth rows of stitching. Using a sharp knife (change the blade it will be blunt by now), cut through the latex, between the rows of stitching, all the way along. Take care not to cut the blades of grass. Remove the excess strips and repeat the process on the other length. Time for tea, and have a Hob-Nob too, you’ve earned it.
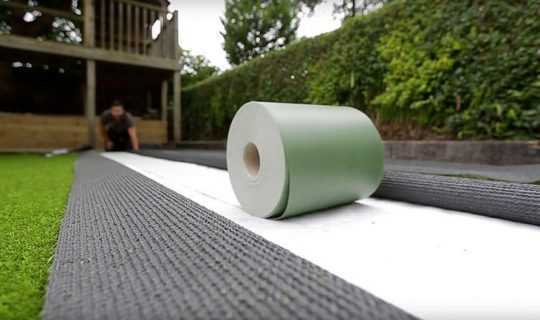
Step 2 Joining the lengths
Line up the cut lengths and fold back the edges, holding them back all along the join. Roll out the joining tape, shiny side down, on the ground between the two lengths of Namgrass. Use a cartridge gun (and spreader if you like) to apply the adhesive evenly along the tape. Starting at one end, fold the two lengths of Namgrass back over so they stick to the tape. Take care not to get grass fibres stuck in the glue. Not long now, think of all the grass cutting you won’t have to do! Once both edges are folded over, walk gently along the joint to firm it down. If you can see the join, make small adjustments until it disappears. Leave at least two hours for the glue to go off, or up to a day if it is below freezing.

Step 3 Opening the Bottle
Well done! Celebrate by selling your old lawn mower and opening a bottle of bubbly!