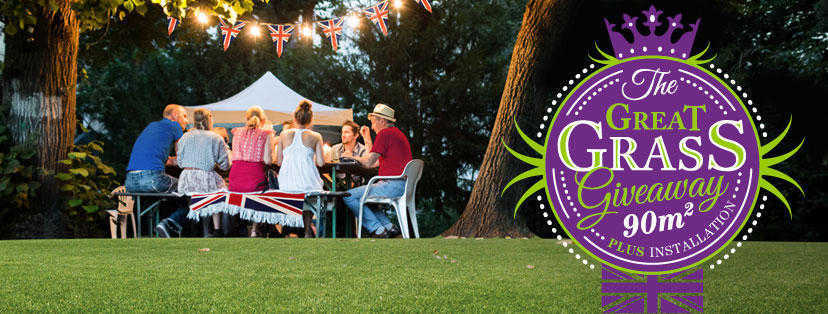
The Great Grass Giveaway
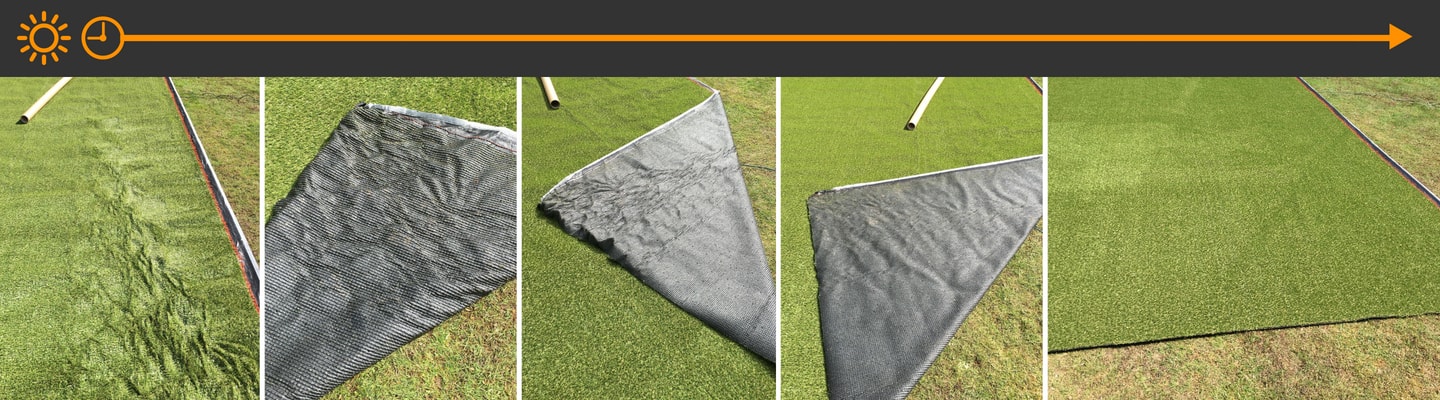
Have you been longing for a freshly cut lawn that requires minimal maintenance and looks perfect all year round? In celebration of the Queen’s 90th birthday celebrations we are giving away up to 90m2 of Namgrass artificial grass plus installation. Your perfect lawn is only a few clicks away.
Head over to our Facebook page to enter. Terms and Conditions apply.
TERMS AND CONDITIONS
We recognise this isn’t the most exciting bit to read! But this is the most important therefore please read these carefully.
1) You can only enter the competition once.
2) No purchase is necessary to enter the competition.
3) The promoter of the competition is Namgrass UK, Redcliffe, Bashley Road, New Milton, Hampshire, BH25 5RY.
4) The prize is only available to United Kingdom residents over the age of 18, with a permanent UK address. It is not open to the Namgrass UK agencies, its group companies or anyone else connected with the competition including employees.
5) To enter the competition you must write in the comment box on the competition post on the Namgrass.com Facebook page as asked in the post. Posts that do not comply with that may be removed and will not be valid for entry.
6) One entry will be selected at random from the entries. The decision of the judge is final and the we will not enter into correspondence relating to the decision.
7) The start date and time of the competition is 7th June. The closing date and time of is 31st August at 23:59pm. Entries received after the closing date will not be processed. The draw will take place on 8th September.
8) The Winner will be notified via Namgrass Facebook page and given details of how to claim their prize. If the winner does not respond within 24 hours then the winner’s prize will be forfeited and we will be entitled to select another winner (and that winner will have to respond to the message sent to them by 24 hours also).
9) We may ask the winner to provide proof of age, country of residence and/or proof of property ownership.
10) Entries on behalf of another person will not be accepted.
11) Namgrass UK shall not be liable for any failure to comply with its obligations where the failure is caused by something outside its reasonable control. Such circumstances shall include, but not be limited to, weather conditions, fire, flood, hurricane, strike, industrial dispute, war, hostilities, political unrest, riots, civil commotion, inevitable accidents, unforeseen legislation or any other events beyond its control.
12) No responsibility is taken for entries that are lost, delayed, misdirected or incomplete or cannot be delivered or entered for any technical or other reason. Proof of delivery of the entry is not proof of receipt.
13) We reserve the right to modify the competition at any time without prior notice.
14) The name of the winner will be available upon request for 4 weeks after the winner has been notified by emailing
[email protected]. The winner agrees to have their name and town/county of residence disclosed for this purpose.
15) The winner is happy to provide a customer testimonial written and verbal which includes their name, town/city.
16) The winner is happy for the installation to be filmed from start to finish. Any footage taken – video and photography are the property of Namgrass UK which may be used for promotional purposes.
About the installation
17) The installation is subject to a site survey and the installation site must be approved by Namgrass UK and the Installer before commencing any work.
18) Namgrass UK will select the Namgrass suitable for the install based on the site survey and consultation.
19) Installation is based on the Installers availability and the installation date will be agreed between the winner and the Installer. We will only use Namgrass Approved Installers.
20) If the site is more than 90m2 the winner must pay additional for the Namgrass and materials.
21) Entry to the competition is deemed acceptance of these terms and conditions.
If you have any questions then please email us with your query.