10 Step Guide to Creating A Garden Putting Green
Whether you’re a pro in training, or just like to hit the golf club on the weekend, I’m sure you’ve dreamt of having a putting green right outside your house. By following our step-by-step guide, that dream can become reality. Artificial turf will give you year round perfect putting; and all in your back garden – bliss! Before you get started, take a look at our video on how to install artificial turf. This will give you an overall idea of the process before you get going on our step-by-step guide to creating a unique putting green.
TOOLS NEEDED
- Sod Cutter
- Compacter
- Round tip and flat shovels
- Large rake
- Hard bristle broom
- Wheelbarrow
- Concrete trowel
- Utility knife
- Spray paint
LAWN LAYOUT AND GROUND PREPARATION
Step 1 – Choosing the design
- First of all, you need to map out your putting green.
- Take some rope and lay it down roughly to create the design.
- When you have the size and shape mapped out, have a little practice to see if it works for you.
- Use spray paint to mark the entire outside perimeter of the shape. This will be used as the perimeter for your basing and edging.
Step 2 – Preparing the ground
- Now you have your shape laid out, it’s time to remove the existing turf.
- Hiring a sod cutter will make this a lot easier, and will allow for a more even surface than a shovel.
- Once the old grass is gone, we recommend compacting the damp soil using a plate compactor to ensure a solid foundation for the crushed stone base.
Step 3 – Edging
- Add an edging as a border along the entire outside perimeter of your putting green.
- This will stop the base material from going outside of the area desired.
- Our artificial grass comes in varying pile heights. Your edging needs to account for this.
BASE INSTALLATION
Step 4 – Add your base
- Now you have edged your design, it’s time to lay the base material (for example, ‘Grano dust’).
- Take your design and measurements to your local building suppliers and they will help you with this.
- Make sure to distribute the material evenly. Use a large rake spread out the base so that it even and flat.
- Now compact.
- Follow this process until you have a layer between 40-60mm deep, with a 20mm between the base and the edging.
- Lay out the weed membrane across the base and cut it to fit around your edging.
Step 5 – Install the cups
- Arrange the cups on the base.
- Mark the place where the cup will be by pressing it into the surface.
- Using a small hand shovel, dig a hole that is at least 2 inch larger around than the cup than and deep enough to fit the cup (leave 1 inch of the cup exposed).
- Add fast drying concrete mix powder around the cup and add water until the mix is saturated.
- Run the compactor over the cup. This will make it level with the top of the base.
TURF INSTALLATION
Before installing your turf, unroll it and lay it out flat on top of the base to let it relax from being rolled up. It is likely that you will need to join pieces together to achieve your design.
Step 6 – Cutting
- Lay out your grass, in the shape of your design (with any curves carefully marked out).
- Identify the third and fourth rows of stitching.
- Using a sharp utility knife, cut along the latex layer in between the rows.
- Repeat this along the edge of the joining length.
Step 7 – Joining the lengths
It is essential that you get this bit right to achieve a perfect putting green. Check out our easy to follow video to help you:
- Align the cut lengths of grass and fold back the edges.
- Lay the joining tape out flat between the two lengths.
- Use a glue gun to apply the adhesive along the edge of the tape.
- Gently fold the lengths over so they stick securely.
- Press the sides down by walking along the entire length.
Step 8 – Add the infill
- To help settle the grass and improve drainage, we recommend you fill it with a layer of kiln-dried sand.
- We recommend around 5 kilos per square metre.
- After spreading the sand, brush the grass with a stiff broom to lift up the fibres,
Step 9 – Cut the holes
- Locate the cup hole under the turf.
- Using a utility knife (with another new blade!), carefully cut the holes out of the turf.
- Trim any loose fibres carefully with scissors.
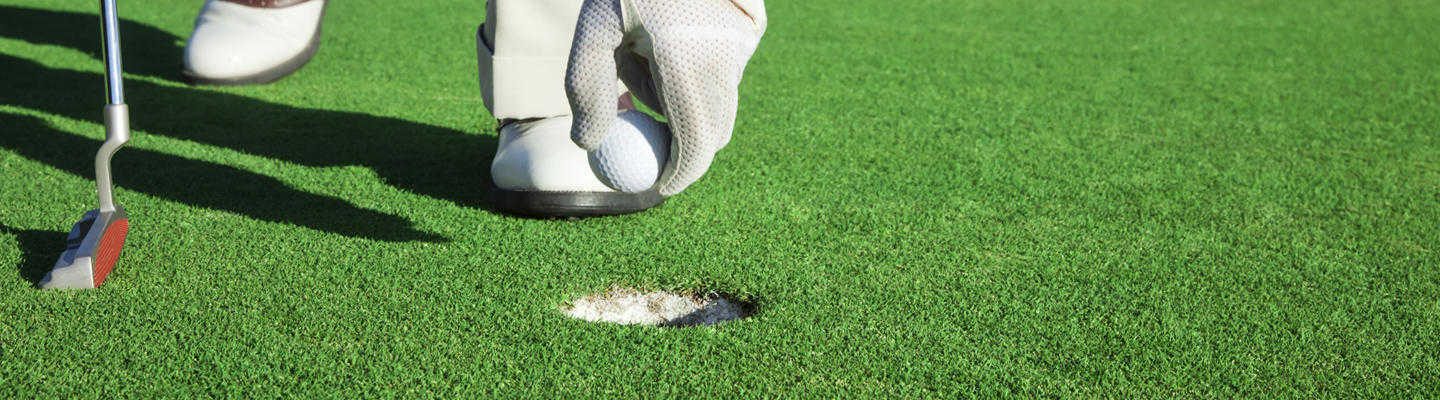
Step 10 – Enjoy
Phew! Now your personal putting green is ready for action. Enjoy a few test shots (if you have any energy left!). Want all the benefits without the hard work? We can do it for you! Contact one of our installers and we’ll be happy to assist you from design to fitting.