Posted on

How to Lay an Artificial Grass Roof

How to Install an Artificial Grass Roof

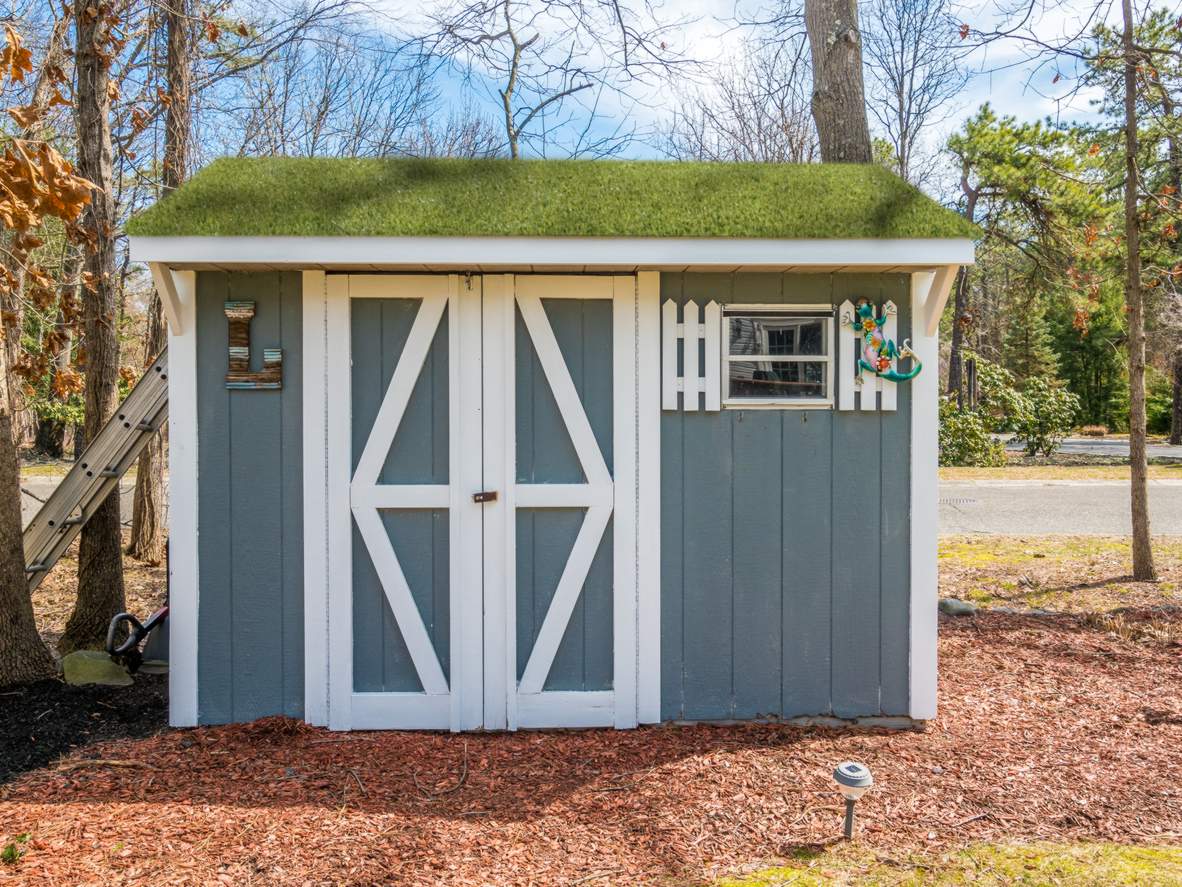
Adding artificial grass to a flat roof is a great way to make sheds, garages, and outbuildings look brighter and more at home in the garden. Whether you’re covering up a felt roof, commonly used on sheds, or want to update a roof terrace or balcony, you’ll get the best results if you follow our installer’s guide to creating an artificial grass roof.  

What You Need
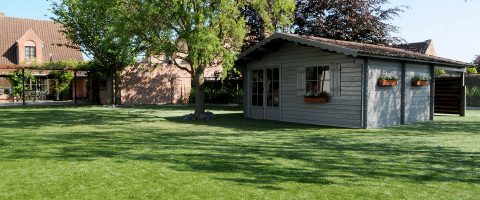
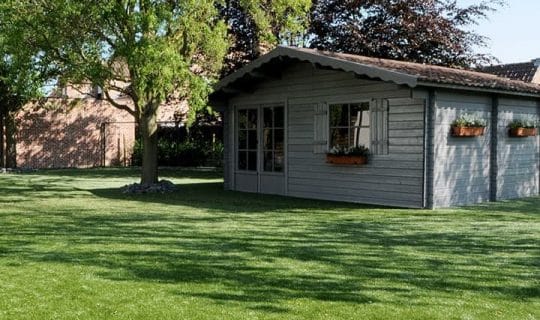
garden shed on fake grass with leafy trees

To install an artificial grass roof, you need:

  • A measuring tape
  • A sharp utility knife
  • Joining tape (if multiple pieces of grass are to be joined)
  • Artificial grass adhesive & a cartridge gun
  • Underlay or shockpad if working with an uneven surface.

Once you have your equipment together, you need to choose, measure up, and order your artificial grass ahead of installation day. Many builders’ merchants and garden centres can sell you artificial grass, and you can use our stockist finder to find your nearest Namgrass retailer.

To calculate the amount of artificial turf you’ll need to order for your green roof, measure the length and width of the roof and multiply the two numbers to get the total surface area. Divide this number by the width of the artificial grass you have selected to find the minimum length you need to order to cover this area.

Make sure you allow at least 10cm excess in each direction to ensure a good fit and easy installation, or you may struggle to get a professional finish. For example: if your chosen artificial turf is cut from 2m wide rolls, covering a 10m­roof would require approximately 5.2m of grass to allow for 10cm of excess in each direction.

Laying an Artificial Turf Roof

Once you have your tools and artificial grass ready, you can start installing your artificial grass roof:

1 – Ensure the roof you plan to cover is structurally sound, and in good condition. Check to make sure it’s not cracked or affected by rot, otherwise you may damage your roof further during installation.

2 – If your roof is uneven, slatted, or tiled, installing a layer of board, shockpad, or underlay can level out the surface to create an even finish.

3 – Work out where you need to cut your artificial grass to cover the full roof, ideally on a piece of paper before you start cutting. Only once you’re confident you’ve got this right should you start cutting the turf to size before placing it in situ. When cutting artificial grass, be sure to cut along the lines of drainage holes in the backing material, or your grass may begin to unravel.

4 – Once you’re satisfied with the fit, fold your grass back along the edges where any pieces meet each other, so that there is a gap between the two pieces of grass and the black backing material is facing up along both pieces of turf.

5 – Roll a strip of joining tape out along the full length of the join between the two pieces of grass, with the shiny side down and sticky side up. Apply a thin layer of artificial grass adhesive along the length of the tape, and fold the grass back down, fixing the black backing firmly to the glue and tape.

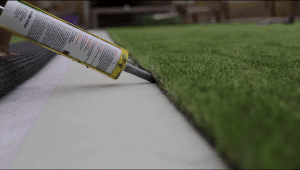
6 – When you’re happy with the fit and position of your artificial grass, and all the joins between each piece are secure, roll your turf up to one end and lay an even bead of artificial grass adhesive around the perimeter of the roof.

7 – Unroll your artificial turf carefully, making sure the edges lines up properly with your original fit. Lift the edge you rolled the grass away from up and apply a bead of adhesive along this edge and press your turf back into position.

8 – Once the adhesive has dried and your turf is firmly secured, give it a quick brush over with a bristle brush to raise the pile and lift any flattened grass.
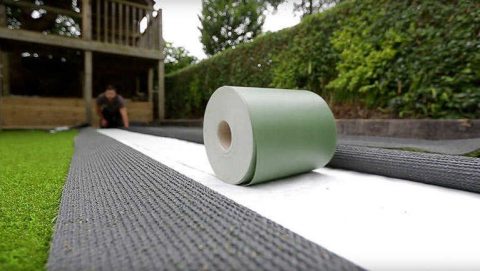
joint tape rolled out to join artificial grass
glueing artificial grass with glue gun

After a few hours, your artificial grass roof will be firmly secured in place and looking fresh, green, and natural. Now you can relax and enjoy your handiwork, without the added fuss of maintaining a natural green roof.

Posted on

How to Make the Most of Your Garden in Autumn and Winter

How to Make the Most of Your Garden in Autumn and Winter

Not ready to hang up your garden tools and venture indoors? These 5 tips will keep you enjoying your garden late into the year.

Preparation

Autumn inevitably brings slower activity in the garden, but if you want your garden to flourish come spring, you need to invest in preparation.

Here are a few useful tips to get you started:

1. Start by cleaning away rotting and finished plants. This will not only prevent pests from returning to your garden in spring, but it will also improve your soil health.

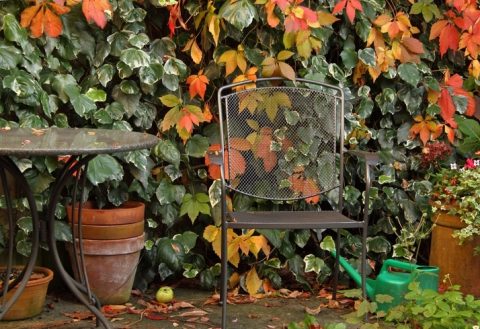
2. Think forward to the colourful garden you want by spring and start planting bulbs accordingly. Tulips are a great choice as they need to be planted in cool soil, or plant daffodils in pots to enjoy come early spring.

3. Give your tools and patio furniture some TLC. Start with a thorough clean before applying treatments and storing in a cool, dry environment. Taking this step will not only prolong the life of your tools and furniture, but it will also save you time come spring.

For more gardening to-do lists for each month of the year, take a look at our blog post.

Walking in a Winter Wonderland

Autumn and winter provide the perfect opportunity to get festive in the garden.

Spend autumn collecting acorns and pine cones to turn into winter wreaths. With the addition of cinnamon sticks you’ll smell Christmas before you’ve even entered your home! Use this autumn and winter period to be bold and turn your garden into a grotto or adopt more subtle touches to add festive spirit.

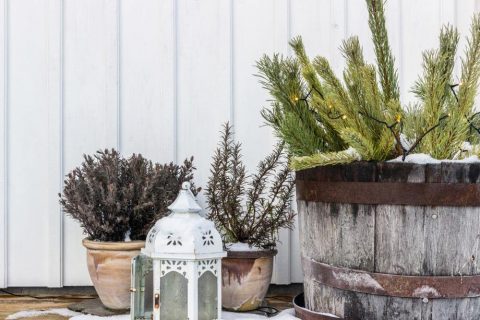
A winter garden would be incomplete without lighting. Dig out your outdoor lights, drape them over your home or over your shed. For a truly whimsical look, delicately place them in trees and topiary. For the Christmas enthusiasts among you, investing in lighted decorations like sleighs and reindeers bring festive fun to your garden. Subtle touches such as lanterns placed around your garden give a festive yet sophisticated look.

Light my Fire

Extend the outdoor season for a while longer with a new fire pit.

Not just a useful addition to the garden that can be enjoyed all year round, the countless design options mean you are sure to find a firepit to complement your garden. Equally beautiful in design and function, chimeneas make the perfect focal point to your garden during the autumn/winter season.

Spend the crisp nights snuggled under blankets with friends and family, indulging your inner child toasting marshmallows on the firepit! Wood stores also make a great feature to a garden, bringing texture and colour to your outdoor space. Fill to the brim with multiple-sized logs and kindling.

Renew your Winter Pots

Are you fed up of your plant pots looking sad and bare during winter? Then fear not, we have some helpful tips to revitalise your planters and inject some life back into your garden.

Trusty evergreen plants are a staple in providing some contrasting colour to the silvery tones that transform your garden through the winter period. You can even recreate your favourite winter scents in your garden with shrubs such as ‘Christmas box’ (sarcococca confusa), which will fill your garden with glorious sweet notes.

Evergreen plants are also a perfect low-maintenance option, so you can reduce your time spent tending to the garden. Planting grasses can bring movement and drama, making sure your garden doesn’t feel static or boring. Be sure to choose hardy succulents and shrubs when renewing your plant pots, as they will need to withstand the harsh British winter!

For a more in depth read on how to inject some colour into your garden, take a look at our blog post on autumn plants here.

Help the Wee Beasties

Do your part for the environment by providing refuge for your local wildlife.

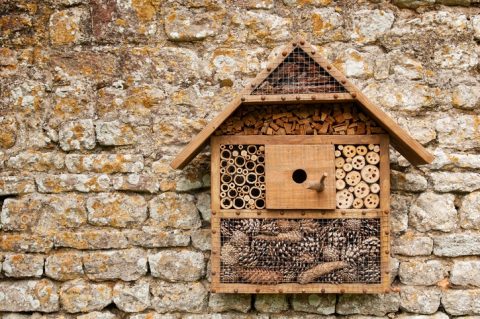
It can be as simple as brushing leaves and debris into borders to create warm burrowing habitats for hedgehogs and insects. Take it a step further and treat your garden animals to some luxury with wooden insect houses and seed balls for your winter red robins. You’ll reap the benefits in summer when these helpful insects make an appearance in your garden!

Bring the family together to build insect ‘hotels’ and birdhouses to place around your garden. This will make the perfect opportunity to have your own Attenborough moment, identifying bugs with the children and bird-watching from your home. Get the blankets out and admire the natural wildlife as it finds a home in your garden!

For more tips on encouraging wildlife into your garden, read our blog post here.

Autumn and winter might not necessarily be time that you’d think to spend in the garden, but with these ideas we hope you will!

Posted on

7 Plants for a Colourful Autumn Garden

7 Plants for a Colourful Autumn Garden

Autumn is known for the burst of colour it brings when the leaves turn from green to orange, red and eventually brown, but at this time of year the days are getting shorter and your annuals begin to die, so your garden might begin  to feel lacklustre and in need of a lift.


Here we’ve gathered some autumn flowering plants, trees and shrubs to bring a bit of colour and variety into your garden this season.

Orange Chrysanthemums | Plants for a Colourful Autumn Garden | Garden Design

Chrysanthemums

Botanical name: Chrysanthemum

Flowering time: September – October

Planting time: April – May

Chrysanthemums are in full bloom during September and October, making them perfect for perking up a dreary garden. For an instant effect, buy them in bloom and put them in position. They’re not particularly hardy though, so at the first sign of frost, bring them inside (though not near a heat source) and they will usually continue to flower.

Autumn Crocus

Botanical name: Crocus speciosus

Flowering time: September – November

Planting time: Late summer

Ranging from white, to lilac, to vivid purple, autumn crocus is a popular plant for the last flowering season of the year and complements chrysanthemums beautifully. Some types of autumn crocus can even flower through to November.

Purple Autumn Crocus | Plants for a Colourful Autumn Garden | Garden Design Blog
Orange leaves white berries | Sorbus Tree | Plants for a Colourful Autumn Garden | Garden Design Blog

Sorbus

Botanical name: Sorbus aucuparia

Berrying time: Autumn and winter

Planting time: Spring

Berries can be a beautiful source of colour in the autumn too, which is why sorbus have made this list. They offer up red, white, pink or yellow berries and their foliage can be yellow, orange or red. They’re perfect for smaller gardens, and they attract lots of birds too.

Acers

Botanical name: Acer palmatum

Flowering time: Early to mid-spring

Planting time: Autumn

A Japanese maple is the answer to your autumnal blues. With a variety of types to choose from, their leaves turn incredible shades of crimson, red, orange or yellow as autumn comes around. They grow slowly, and they’re compact, which means that they’re perfect for small gardens or container gardens. They need to be protected from northern and eastern winds and frosts, so make sure you give them a sheltered position.

Orange Acer Trees | Plants for a Colourful Autumn Garden | Garden Design Blog
Yellow Rudbeckia | Plants for a Colourful Autumn Garden | Garden Design Blog

Rudbeckias

Botanical name: Rudbeckia hirta

Flowering time: July to October

Planting time: March to May

Another long-flowering plant, Rudbeckia produce masses of colourful flowers from July through to October. They look a bit like daisies, and they’re usually yellow, orange or red. There are several types, including annuals and perennials so their hardiness can vary.

Bowden Lily

Botanical name: Nerine Bowdenii

Flowering time: Autumn

Planting time: Early spring

A bulb that flowers between September and November, the Bowden lily is a South African plant – and it certainly looks like it’s used to hotter climes. A bright pink flower with long, wavy petals, it truly is a burst of beauty in your autumn garden.

Bright Pink Bowden Lily | Plants for a Colourful Autumn Garden | Garden Design Blog
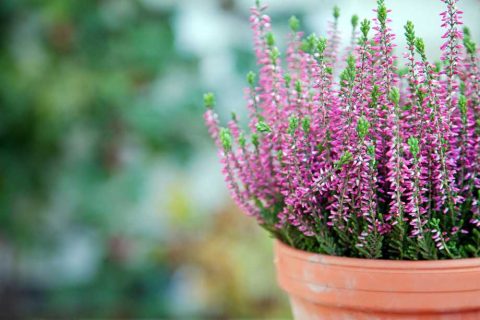
Pink Flowering Heather | Plants for a Colourful Autumn Garden | Garden Design Blog

Flowering Heathers

Botanical name: CallunaDaboeciaErica

Flowering time: Late summer to autumn

Planting time: Early spring

If you’re looking for vibrant colour throughout winter too, then flowering heathers are the perfect plant for you. Low maintenance and long-flowering, they’re also very bee-friendly. Bumblebees and solitary bees don’t store food over winter and so they have to make trips out during the colder seasons – long-flowering heathers provide food for them. With colours ranging from pure white to cerise pink, purple and orange and magenta, you’ve got a wide range to choose from.

Are you looking forward to your autumn garden?

Posted on

5 Instagrammable Flowers for your Garden

5 Instagrammable Flowers for your Garden

Stuck for a little garden inspiration?

Stuck for a little garden inspiration? We’ve taken a look at some of the most popular flowers on Instagram to help you enjoy your garden with a social media moment. Whether you’re looking for a complete overhaul or just a little bit of extra joy in your garden, these flowers could be just the thing!

Peonies

Botanical name: Paeonia

Flowering time: Mid-spring to early summer

Planting time: Autumn

#peonies: 1.8m posts


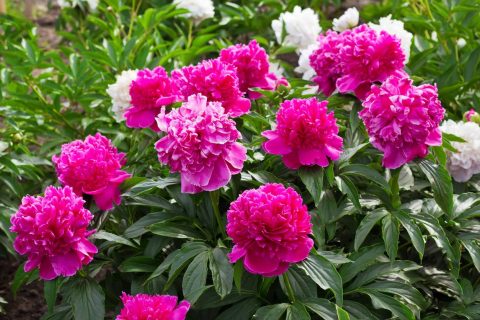
A beautiful flower and one very popular among bloggers and instagrammers, peonies offer large, romantic blooms in whites and pinks. They have a reputation for being difficult to look after, but as long as you do your research and you have their basic needs in place, you should be easy to cultivate.

Tulips

Botanical name: Tulipa

Flowering time: March to May

Planting time: October to November

#tulips: 4.7m posts


There are a large range of colours and shapes of tulips (hundreds!), which makes it easy to see why they’re so popular. It means that you can change the colour scheme of your garden every year, if you wanted to, but you can also encourage reblooming in certain types of tulips too.

Lavender

Botanical name: Lavandula

Flowering time: Summer

Planting time: Spring

#lavender: 3.8m posts


A classic English garden plant, lavender is actually a fragrant herb (and originates in the Mediterranean!) and is incredibly easy to grow. There are many different types of lavender, but the three main groups are English Lavender, French Lavender and Lavandin.

Sunflowers

Botanical name: Helianthus

Flowering time: August

Planting time: Spring

#sunflower: 4.3m posts


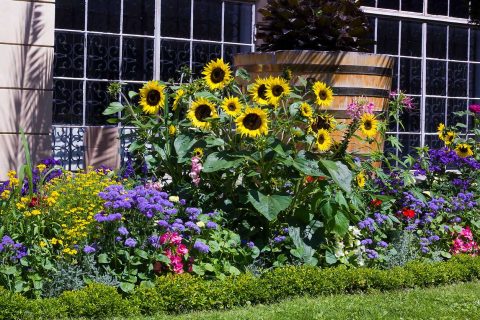
You can’t help but smile if there’s a sunflower around, so no wonder it’s one of the most instagrammed flowers there are. With big flower faces, bright yellow petals and large bristly leaves, they can grow up to 16 feet high.

Hydrangeas

Botanical name: Hydrangea

Flowering time: Late spring to late autumn

Planting time: Autumn and spring

#hydrangea: 1.9m posts


A shrub with exceptionally pretty flowerheads, hydrangeas have an old-fashioned charm available in a number of different colours. The flowers may even change colour, depending on the ph levels of the soil – sometimes with different colours on the same plant!

Which is your favourite? Any that you think we’ve missed?

Posted on

Easy Small Garden Design Updates

Easy Small Garden Design Updates

Small gardens might not seem desirable, but there’s lots to love about a smaller space.

They never require a lot of maintenance and you don’t need lots of cash to get them looking good. A small garden might seem frustrating from a design point of view, but with a little bit of creativity, you can have a garden that’s just as beautiful as a big one. Here we’ve collected our favourite ideas for updating your small garden, so your outdoor space can be stylish too.

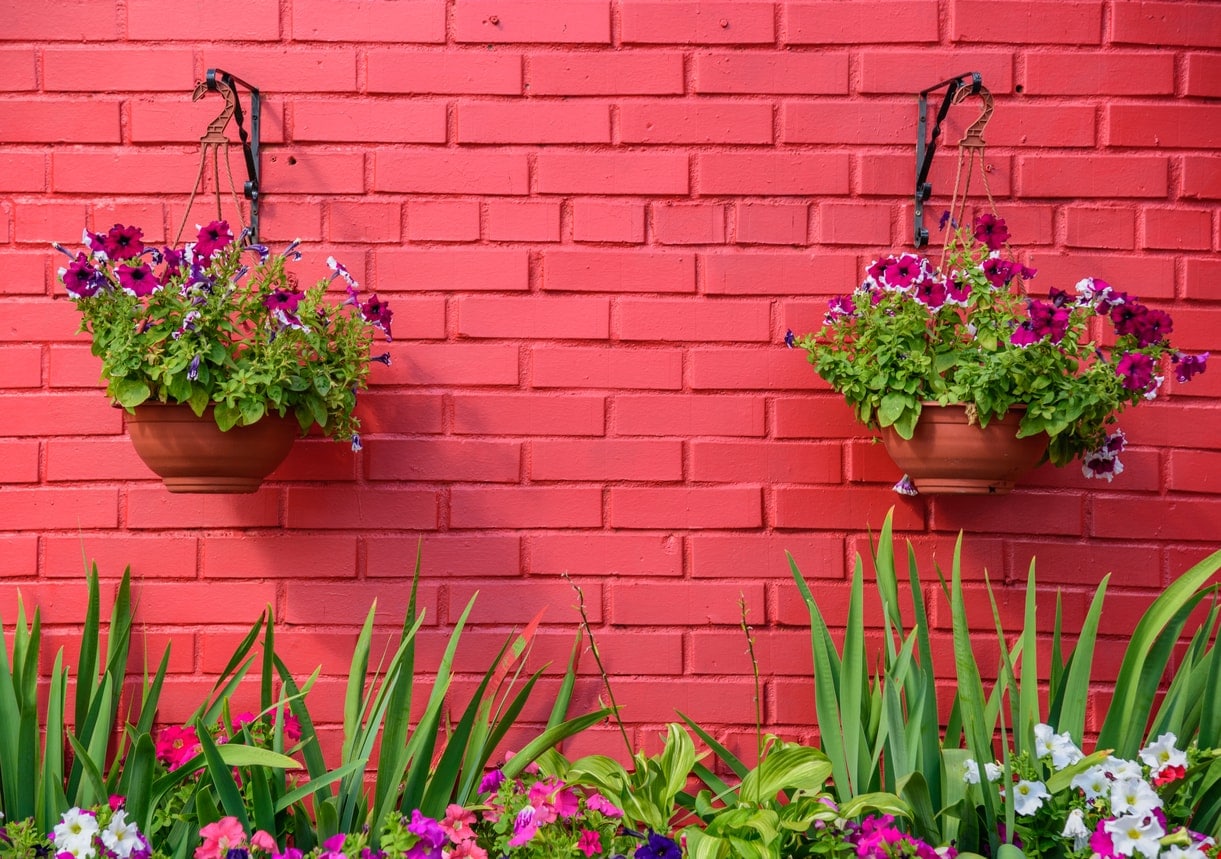
bright pink wall with plants

Go for Colour

Think of your garden as an extension of the house, as another room to decorate. Your fence or your external walls can be painted just as an interior wall can. A coat of paint in a vibrant colour will give you a fresh feel or go jewel toned for a richer feel. Alternatively, unify your colour scheme through potted plants. Pots are perfect for rented gardens or gardens where there aren’t any flower beds, just gravel or concrete. Lots of pots filled with lots of plants at different heights and different textures helps fill out your garden without any landscaping.

Light it Up

A quick and easy way to transform your garden is to play around with lights. As the nights warm up and we want to spend more and more of our time outside, you can extend the opening hours by adding outdoor lighting. Fairy lights, lanterns or rope lights, there are plenty of options. String chunky outdoor fairy lights for a Mediterranean feel.

Open up the Space

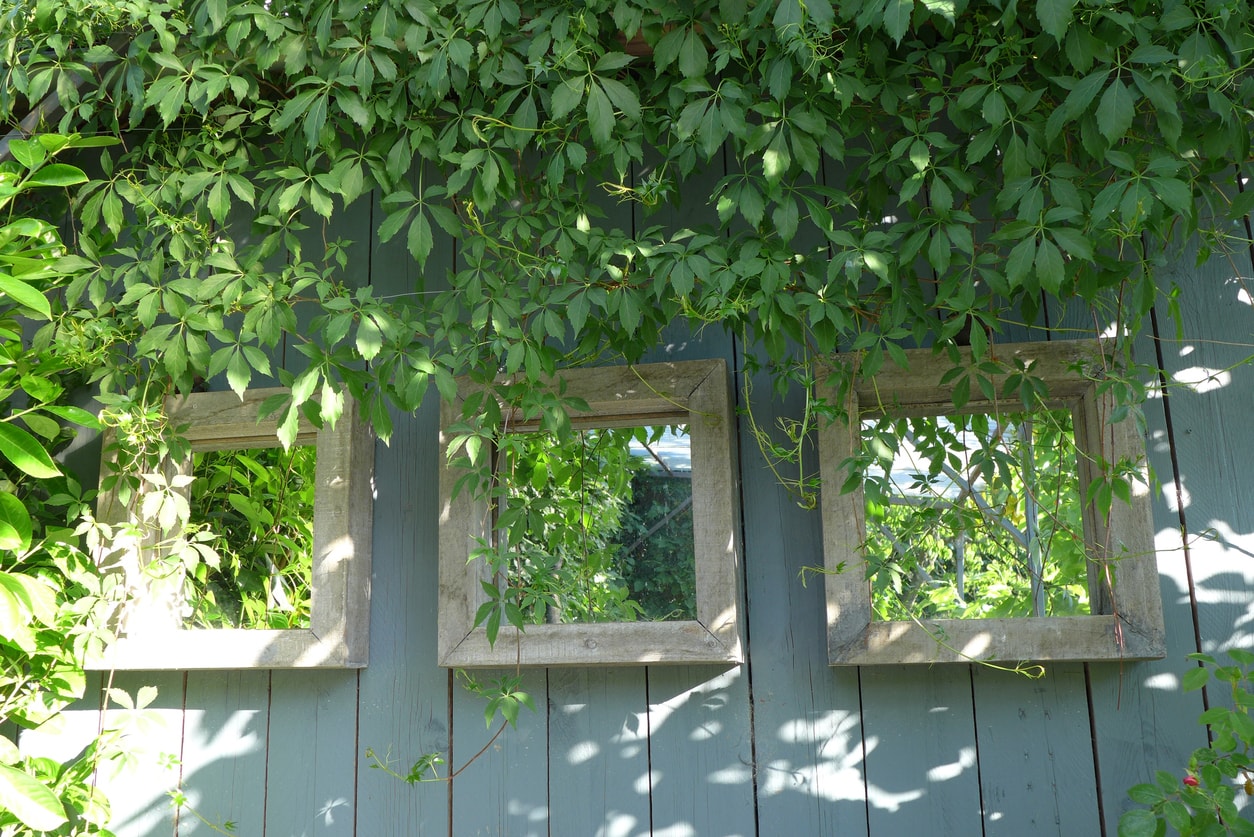
An age-old trick that always looks great is a mirror. It helps to bounce the light around, making the area brighter, as well as giving the illusion that the space is bigger than it is. Positioning is key with a mirror though, as you wouldn’t want the sun to shine in your eyes or to burn your artificial grass, so think about whether your mirror will get direct sunlight. Whether you go for a long straight mirror for a modern, urban look or you go for something more ornate and foxed for secret country garden style, a mirror can really open up your outdoor space.

Keep it Cosy

Small gardens are cosy, so why try and make the space anything but? Make sure your garden is like an outdoor living room and opt for sofa-style furniture. Pile them high with plump cushions and soft blankets, get some outdoor speakers and you could even install a fire pit if you have the space!

Rethink Planters

A living wall is a great way to get your small garden area looking lush and full of plants, without taking up precious lounging space on the floor. A self-sufficient vertical garden, they’re usually attached to the walls of a building. Keep it simple and go for pots that you hang on the wall, hang some shelves to pop your plants on or try your hand at creating a vertical garden planter to fill the entire wall. Which ever one you opt for, it’s sure to revolutionise your space.

With just a few, simple updates, you can transform your small garden and change the way you use it altogether.

Posted on

A Brief History of Artificial Grass

rolls of artificial grass in the namgrass factory | namgrass garden design blog

A Brief History of Artificial Grass

Gone are the days of artificial grass being solely used on hockey and football pitches. Now, manufacturing technology has evolved allowing for artificial grass to be used in a variety of ways.

The First Wave of Artificial Grass

Initial artificial grass applications date back to the late sixties. Marketed under the name Astroturf, the artificial grass was primarily used on hockey pitches and tennis courts before being used on football pitches. The Astroturf name gained recognition when the famous Astrodome Baseball Stadium in Texas (USA) replaced their natural grass pitch with the so-called Astroturf.
This first wave of artificial grass provided functionality, but it did not resemble natural grass in any shape or form. This was due to the artificial turf being composed of nylon, which essentially acted as a thick layer of carpet. Nylon caused many issues as players suffered from burns when their skin came in contact with the turf.

In the 1980s, makers of artificial grass started using a composition of polypropylene and sand. The change of materials lowered the cost of the turf and the sand in-fill provided a more natural ‘bounce and roll’. However, the sand caused similar injuries to its nylon counterpart.

The New Age of Artificial Grass

The end of the nineties saw artificial turf developed for field contact sports. The overriding difference was that players could now make forceful contact without causing burning or grazing injuries. This was possible due to the artificial turf being made from polyethylene, and the sand in-fill being replaced with rubber granules or a mix of both.

The polyethylene turf also provided longer fibres, making the artificial turf look a lot more like natural grass. This caused an expansion in artificial grass being used for landscaping, as it provided a low-maintenance solution to natural turf.

Since 2008, non-infill artificial grass products have been introduced to the market. These new-age grasses were developed by Namgrass and set the global standard for artificial grass products. Namgrass consists of long pile height with different shaped yarns and fibres to add both support and stability to the grass. Using this mix of materials allows for the grass to remain upright—just like natural grass!

Removing the sand in-fill increases the number of ways artificial grass can be used. The uses now include:

  • Gardens
  • Balconies
  • Roof terraces
  • Smaller surfaces
  • Indoor applications
  • Showrooms
  • Exhibitions
  • Festivals
  • Temporary applications

How is Artificial Grass Made Today?

The manufacturing process of artificial grass is similar to that of carpet making. Below is a breakdown of each step in the process;

  1. The raw materials (polyethylene and polypropylene) are mixed in a hopper machine, before colours and chemicals are applied to give the desired shade of green. This also provides the artificial grass with full UV protection.
  2. The liquid mixture is then placed through an extruder, where it is moulded into elongated strands to mimic that of natural grass.
  3. These now formed strands are put onto a carding machine and rotated into a loose rope.
  4. The loose rope is then woven into a tighter yarn, which is set through being heated.
  5. Large spools of yarn are then fed through a tufting machine.
  6. A tufting needle pierces the primary backing, which pushes the yarn through. This continuous process turns the yarn into a carpet of artificial grass.
  7. The new artificial grass is rolled under a latex dispenser, that spreads latex onto the underside of the turf.
  8. The underside surface is then heated to cure the latex.
  9. The artificial grass is fed through a machine that cuts any yarn that rises above the uniform surface.
  10. Finally, the artificial grass is rolled for delivery.

Watch the full manufacturing process at our Ghent factory in Belgium here!

Posted on

From pro-golfer to pro-installer

Namgrass Artificial Grass Golf Surface

From Pro-Golfer to Pro-Installer

For those on the outside looking at the prospect of being a professional golfer, it seems like living a dream. The truth is that it’s a very tough world and with the exception of a few individuals it can be a very competitive and difficult way to make a living. When David from Henry Thomas Garden Design decided to leave the world of professional golf, it’s fair to say his future was looking a little uncertain. After years of dedication to the game, he loved the big question was what to do next?

David looked at the trends in the market and knew that his love of landscaping and being outdoors, combined with the growth of interest in artificial grass meant there was a clear opportunity to step into the world of artificial grass and become an installer. “I looked at lots of different grasses and nothing really grabbed me but when I met you guys at FutureScape your professionalism as a team and the quality of the products themselves meant my decision was made for me. I went straight to the bank and borrowed the money I needed to get started and the rest has come from there.”

Namgrass approved installer David Walker

  “I wanted to say a heartfelt thank you to the team at Namgrass. When I left the world of professional golf with nothing but £50 in my pocket I really didn’t know what I was going to do. After meeting with Shane and Morgan I had the confidence to go and get a bank loan and build my business to the success it is today. It’s been hard but having the support of Namgrass behind me all the way really has made all the difference. I’m so pleased I decided to work with you and the team.” David Walker, Henry Thomas Garden Design.

I love the Namgrass products, the quality is unmatched and all my clients love them too. This has given me the confidence to build my business, safe in the knowledge that I’m offering the best value and service to my customers and that I have the full support of the team at Namgrass behind me, it’s a true partnership.”

At Namgrass our install partners are second to none and go through a tried and tested procedure to earn the title of a Namgrass Approved Installer. If you would like to hear more about our National installer network why not give our team a call or find your nearest Namgrass Approved Installer now.

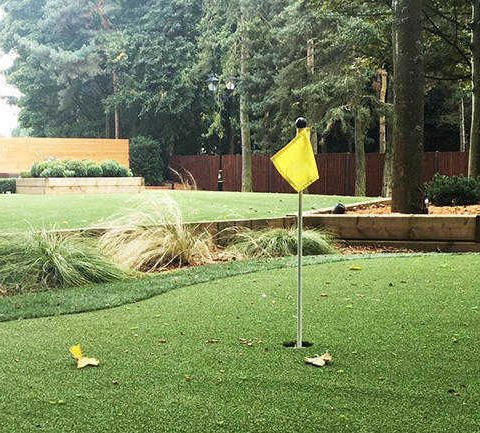
home putting green using fake grass
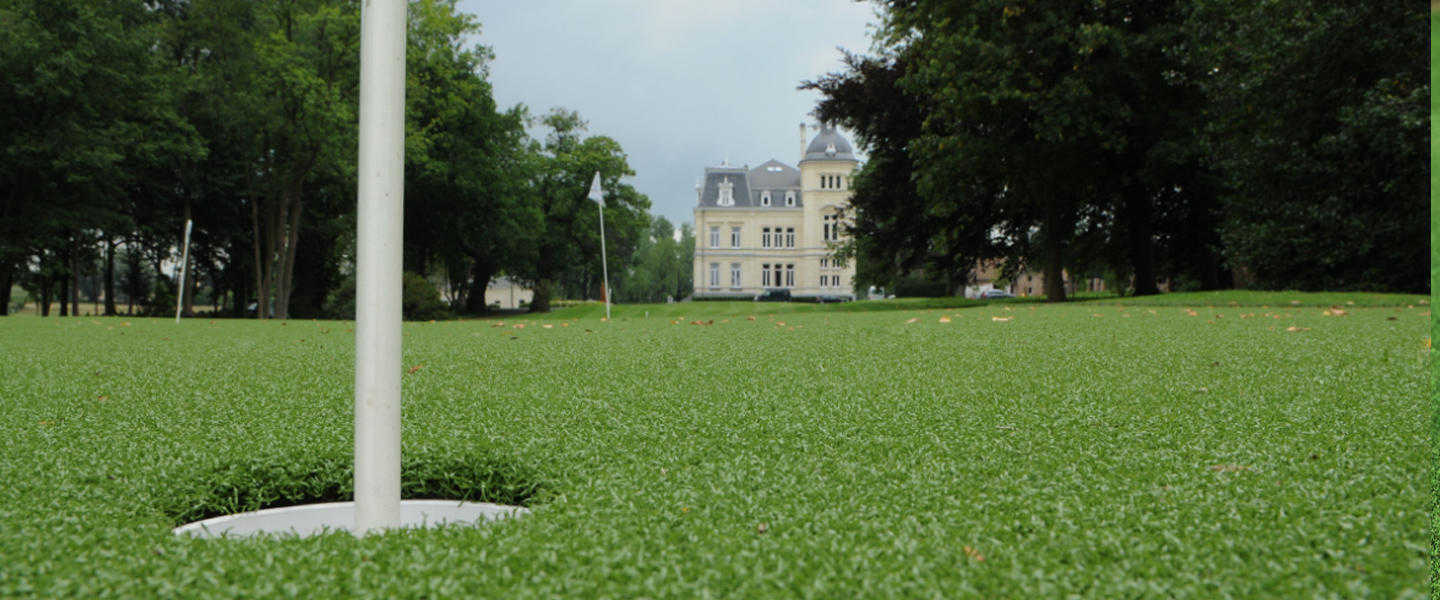
close up of golf hole with artificial grass laid
Posted on

Choosing Your Namgrass Product

family dining alfresco on vibrant fake grass

Choosing Your Namgrass Product

So you’re thinking about replacing that worn out tatty old lawn with a stunning artificial grass lawn that will look beautiful all year round no matter what. That’s great, now all you need to do is work out the artificial turf product that’s right for you and how you are going to install it.

Whilst Namgrass is simple to lay we also benefit from the support of a nation wide team of approved installers. Here are a few of the latest guys to join the team being put through their paces at the ‘School of Namgrass’ at Namgrass HQ.

We spend time going through all the individual products so that they can suggest the grass that best suits your needs and the style of your garden. For garden design tips check out our blog to help give you some inspiration.

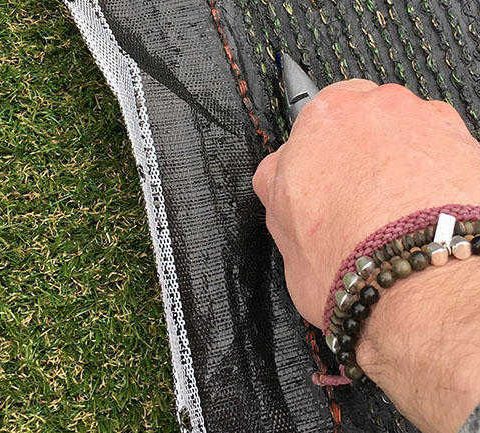
close up of latex backing artificial grass

We cover the basics of the install and the best practices and tips to deliver a flawless job. From the preparation of the area, how to lay the perfect base using the various materials and edging systems, through to the art of the perfect join and cutting in. Every one of our partner installers is thoroughly trained and checked to ensure their work is of the very highest standard before they can earn the title of Namgrass Approved installer.

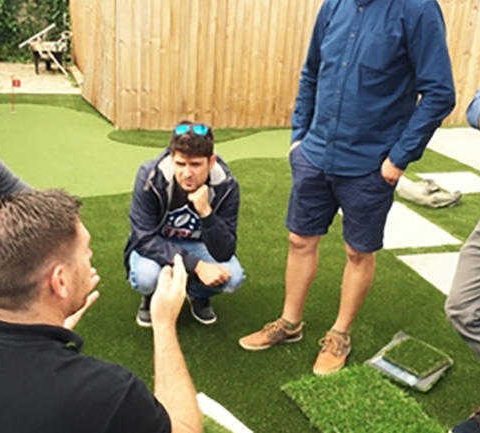
namgrass installer training session

Quality you can trust

We gather a minimum of 4 customer references’ and personally inspect the quality of their work to give you the ultimate piece of mind that your job will be done professionally and to the highest standard. We do all of this to ensure if you decide to have your artificial lawn professionally fitted you are getting the very best job done.

It’s easy to find your nearest Installer, just click here.

Posted on

The Great Grass Giveaway

poster for artifical grass give away

The Great Grass Giveaway

Have you been longing for a freshly cut lawn that requires minimal maintenance and looks perfect all year round? In celebration of the Queen’s 90th birthday celebrations we are giving away up to 90m2 of Namgrass artificial grass plus installation. Your perfect lawn is only a few clicks away.

Head over to our Facebook page to enter. Terms and Conditions apply.

TERMS AND CONDITIONS

We recognise this isn’t the most exciting bit to read! But this is the most important therefore please read these carefully.

1) You can only enter the competition once.

2) No purchase is necessary to enter the competition.

3) The promoter of the competition is Namgrass UK, Redcliffe, Bashley Road, New Milton, Hampshire, BH25 5RY.

4) The prize is only available to United Kingdom residents over the age of 18, with a permanent UK address. It is not open to the Namgrass UK agencies, its group companies or anyone else connected with the competition including employees.

5) To enter the competition you must write in the comment box on the competition post on the Namgrass.com Facebook page as asked in the post. Posts that do not comply with that may be removed and will not be valid for entry.

6) One entry will be selected at random from the entries. The decision of the judge is final and the we will not enter into correspondence relating to the decision.

7) The start date and time of the competition is 7th June. The closing date and time of is 31st August at 23:59pm. Entries received after the closing date will not be processed. The draw will take place on 8th September.

8) The Winner will be notified via Namgrass Facebook page and given details of how to claim their prize. If the winner does not respond within 24 hours then the winner’s prize will be forfeited and we will be entitled to select another winner (and that winner will have to respond to the message sent to them by 24 hours also).

9) We may ask the winner to provide proof of age, country of residence and/or proof of property ownership.

10) Entries on behalf of another person will not be accepted.

11) Namgrass UK shall not be liable for any failure to comply with its obligations where the failure is caused by something outside its reasonable control. Such circumstances shall include, but not be limited to, weather conditions, fire, flood, hurricane, strike, industrial dispute, war, hostilities, political unrest, riots, civil commotion, inevitable accidents, unforeseen legislation or any other events beyond its control.

12) No responsibility is taken for entries that are lost, delayed, misdirected or incomplete or cannot be delivered or entered for any technical or other reason. Proof of delivery of the entry is not proof of receipt.

13) We reserve the right to modify the competition at any time without prior notice.

14) The name of the winner will be available upon request for 4 weeks after the winner has been notified by emailing
[email protected]. The winner agrees to have their name and town/county of residence disclosed for this purpose.

15) The winner is happy to provide a customer testimonial written and verbal which includes their name, town/city.

16) The winner is happy for the installation to be filmed from start to finish. Any footage taken – video and photography are the property of Namgrass UK which may be used for promotional purposes.


About the installation

17) The installation is subject to a site survey and the installation site must be approved by Namgrass UK and the Installer before commencing any work.

18) Namgrass UK will select the Namgrass suitable for the install based on the site survey and consultation.

19) Installation is based on the Installers availability and the installation date will be agreed between the winner and the Installer. We will only use Namgrass Approved Installers.

20) If the site is more than 90m2 the winner must pay additional for the Namgrass and materials.

21) Entry to the competition is deemed acceptance of these terms and conditions.

If you have any questions then please email us with your query.

Posted on

Small Garden Design Tips

neat and tidy artificial lawn

Small Garden Design Tips


It’s instilled in us that bigger is always better but is it really? The belief that something on a larger scale is better is questionable. The truth is that there is no singular nor straightforward answer to this. There is no end to the differing ways in which homeowners can use and enjoy their garden, and therefore there are so many ways in which ‘beautiful’ could be interpreted.

However – if we are to keep things simple, then there is no doubt that small can be beautiful when talking gardens. Ten of the most important points to consider when designing any outdoor space, especially small spaces are:

1. Proportion


When considering the design for a small outdoor space some careful consideration needs to be given to not only the shapes, but also the size of the areas you are going to create within the area i.e. creating a large terrace or patio is all well and good, but if you end up with a tiny grass lawn area crammed in a corner or at the far end of the space then this could upset the balance of the garden.
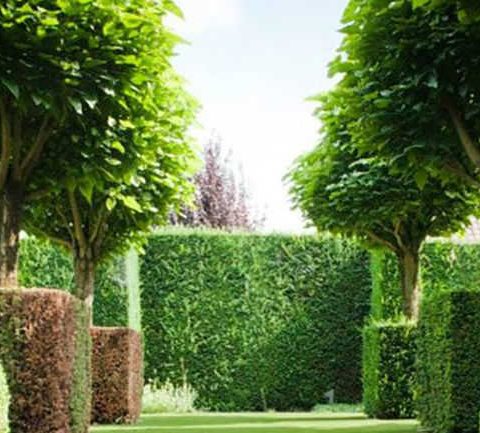
Artificial grass around tapestry hedging

2. Shape


Whether it’s a ‘square’, linear or a curvy ‘fluid’ design you are proposing it’s important to keep an eye on the space as a whole, and whilst focusing on one element, make sure you are considering the other elements at the same time. This way it ensures that you do not miss anything throughout the process.
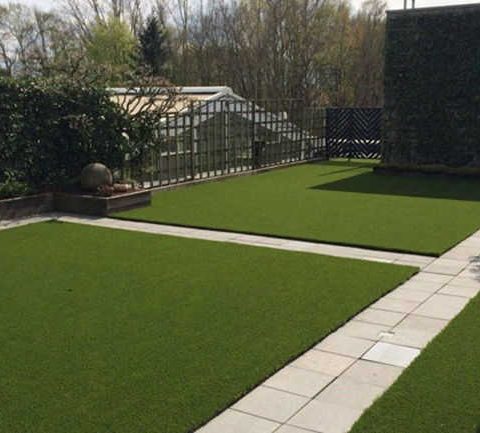
artificial grass with stone paving

3. Continuation


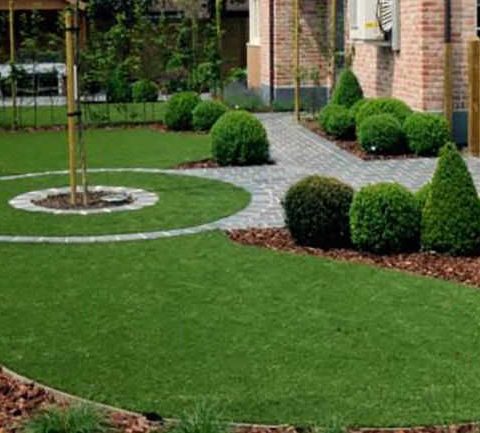
With small spaces in particular, it’s important to let materials blend as seamlessly as possible for instance, if you are designing a curved, fluid shaped patio, continue the shape through into the grass area, so you don’t have two separate shapes, but one continuous shape which is made up of 2 different materials or textures.
Artificial Grass Circles with paving

4. Materials


As ever, the materials you choose for your garden are incredibly important in ‘making or breaking’ the look and feel of your space. Ultimately it comes down to the particular style of garden you have chosen – modern and minimal, or a more rustic and traditional theme.
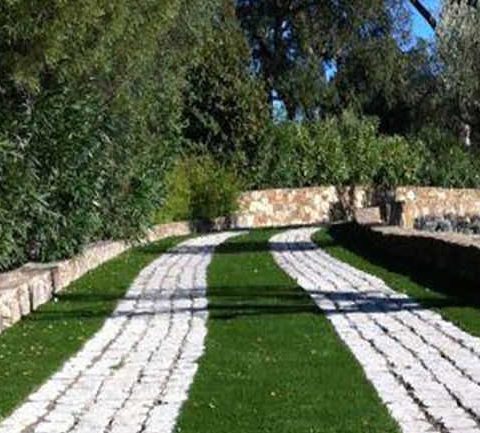
stone paths with fake grass in between

5. Paving the way


The choices of paving types is endless, and it can become quite confusing if you are unsure on the particular style you want to adopt, so it is important to choose this first. You can then hone down the other variations such as texture type, colour until you are left with a ‘wish list’, this will then make it much easier when flicking through suppliers brochures to make that choice.
artificial grass infront of summer house

6. Test run with purpose


One crucial piece of advice when choosing your paving type – always try to see if you can see an area of the material laid before you finalise your choice. It’s all well and good at looking at samples and images in a glossy brochure, but to see the actual product in situ is the best way to make a choice, and even better if you can see it when wet as well as dry – you could be looking at this for a long time, come rain or shine, so don’t make a mistake and regret it later.
artificial grass with stone paving

7. Colouration


Colouration is important for paving, you need to consider if the space is naturally dark or light, do you need to add more light by using a light colour to reflect light, how will the paving sit with other elements in the garden i.e. it’s nice to have a good contrast with a lush green lawn, and pick up the same texture in the edging of the lawn… there’s lots to think about!
Artificial grass lawn with paving

8. Planting


It goes without saying that in a small space garden, you don’t want to go about filling it with huge trees and shrubs, that in time will become overpowering and take away all the natural light. Again, it very much depends on the theme, but I always feel that in small well-formed spaces, using plants and shrubs that have a nice natural structure always works well.
luxury artificial grass

9. Traditional planting ideas


For a traditional themed garden, the use of some shaped Buxus can add some great features to a garden i.e. using Buxus spheres, in different sizes, clumped together or randomly spaced out can be a great, simple effect.


artificial grass next to summer house and wooden decking

10. Modern planting ideas


Having a basis of woodland type shrubs such as Pieris, Azaleas, Photinia, Skimmia, Euonymous is great, but broken up slightly with some more architectural styled plants such as Phormium, Ferns, Cordylines, and some ornamental grasses to give it a bit of an ‘edge’.

fake grass with hot tub
So coming back to the title ‘small is beautiful’ – beauty will always be in the eye of the beholder, but if you take on board at least some of the points above, you will certainly be on your way to creating something ‘beautiful’.